How to Defeat the Top 7 Most Difficult Bosses in Sekiro: Shadows Die Twice
If you guys haven’t heard by now, Sekiro: Shadows Die Twice, is not only destroying the gaming scene, but it is also, I daresay, destroying gaming controllers near you.
Sekiro was made by From Software, which is also responsible for the hell that is the Dark Souls franchise which we all know and love…to hate. With complex controls and even more complex enemies, Sekiro takes you for a ride like you’ve never seen in the ‘Sengoku Period’ of Japan.
Sekiro: Shadows Die Twice Boss Guide
In this article, we show you how to defeat the top 7 most difficult bosses in Sekiro: Shadows Die Twice. If you haven’t played this game yet, be advised, this article WILL contain spoilers, and blood…lots of blood.
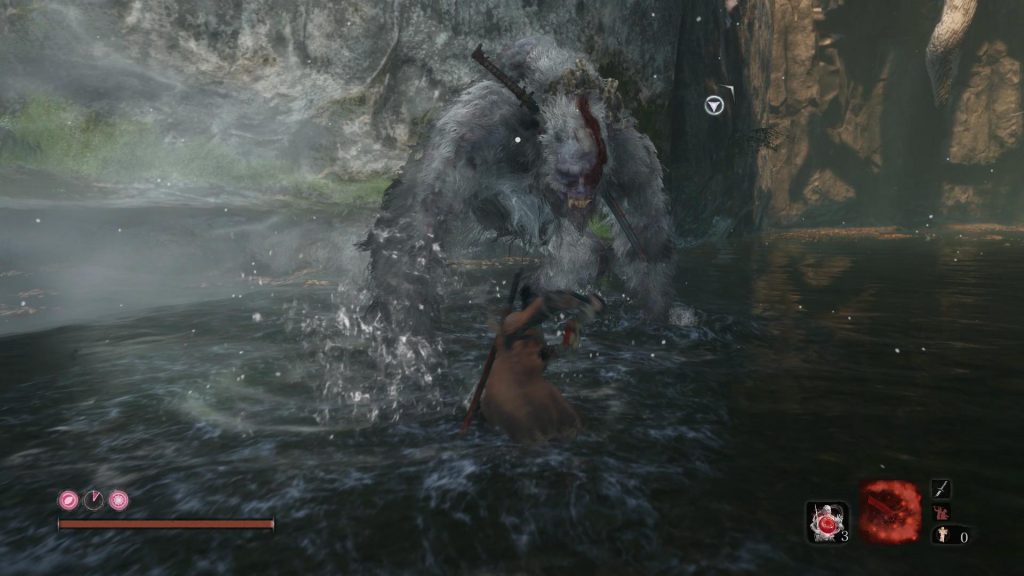
1. Guardian Ape/Headless Ape
Location: Sunken Valley – Bodhisattva Valley
Rewards: Memory: Guardian Ape (Strength Upgrade), Slender Finger
Strategy: This boss contains two phases.
Phase 1: The Monkey
He is not able to block your attacks
Avoid his high damage grapples
1st grapple – contains a sweep attack that can only be dodged by jumping.
2nd grapple – he charges at you then bodyslams.
As red attack icon shows, remember to always jump
Best strat is to stun with FireCrackers every 20-ish seconds
Once stunned:
Run behind him and throw as many standard sword attacks as you can
Combat arts are too slow
When he staggers, keep hitting him until he runs away
This occurs 3 times
He can fart poison and throw poisonous poo at you
Keep antidotes in your quick items
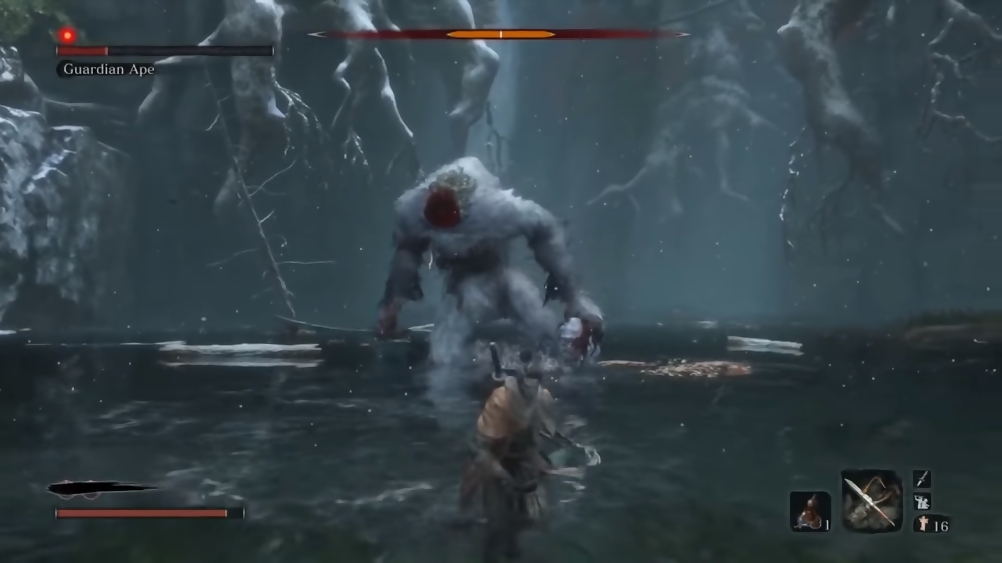
You cut his head off…then what?
Phase 2: The Headless Monkey and his Huge Sword
Contains completely new move set and becomes a lot more powerful
Only 2 moves that give you an opening to attack
First move – He raises his sword in the air attacking from top to bottom
DEFLECT it as soon as it lands. He staggers as you stand below his belly attacking him as quickly as possible.
Second move – he leaps forward attempting a single powerful strike
Jump over him then land 2-3 basic attacks before blocking again.
Avoid the headless ape unless he uses these two moves
If the ape jumps in the air, prepare to jump as he comes back down
You can also jump over his area-wide sweep attack after he lands the jump
Lastly, make sure to have the pacifying agent consumable handy
He will instantly kill you if your terror gauge fills up.
Avoid the red terror fog by unlocking the camera from your enemy and run away!
It’s ok…we won’t judge you.
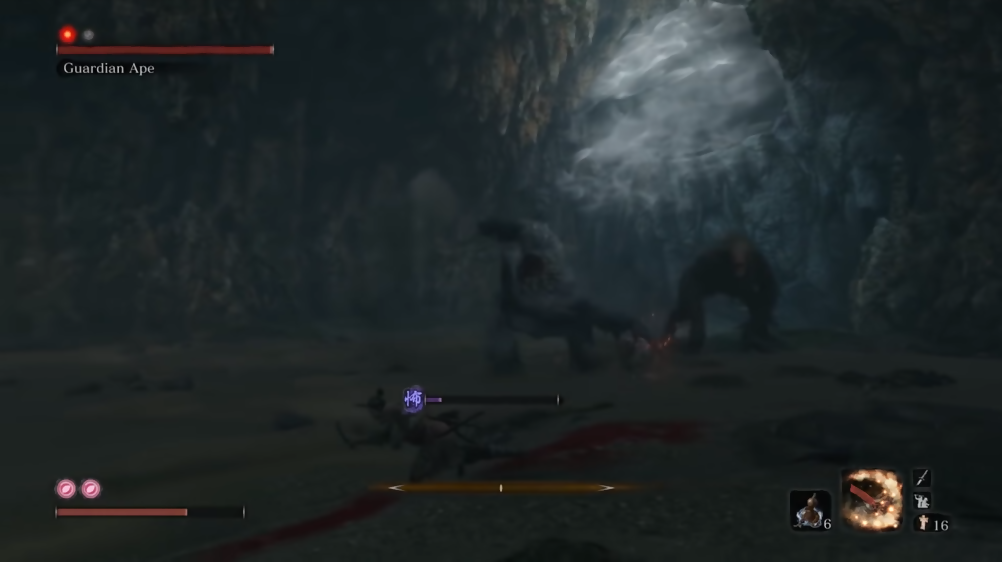
2. Headless Ape and his Lady
Location: Ashina Depths
Rewards: Bestowal Ninjutsu, Guardian Ape Immortality Severed Trophy/ Achievement, 2 x Prayer Beads
Strategy:
Same as second phase headless ape, but slower
Contains two health bars that deplete quicker as you are stronger by this point
He’s slower and doesn’t attack as often as before
Block his chain attacks then go crazy with basic attacks as you revolve around him.
Since he’s slow to turn around, you can really get some damage in
After you deplete his first health bar, he will run away to call his lady
Attack him while he’s calling
The second ape is very weak
Throw Firecrackers at her then go for the instant execution
Again, repeat the same process as before with the headless ape
Be sure to run away when he uses the red terror mist
Once he’s defeated, execute him one more time to rip out his spine.
Easier said than done right?
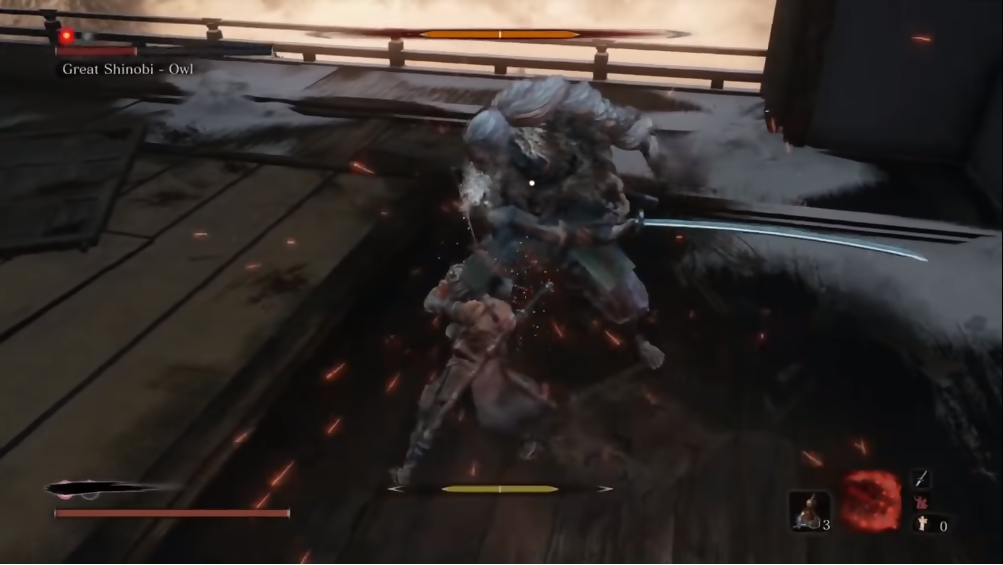
3. Great Shinobi Owl
Locations: Ashina Castle – Upper Tower
Note: To unlock this ruthless battle, once reaching the tower rooftop, you can choose to “break the iron code and stay loyal to Kuro.”
Reward: Memory: Great Shinobi (Attack Upgrade), Aromatic Branch
Strategy:
Contains Several heavy attacks that leaves him vulnerable when dodged perfectly
If he attacks from the left w/ sword
Dodge forward left
If he attacks from the right w/ sword
Dodge forward right
Dodge under his sword to get behind him > Whirlwind Slash Combat Art > Repeat
When he jumps in the air
Dodge forward twice to get behind him > hack away
If you’re low on health
Use Firecrackers to stun him so you can heal
Try to stay close to him as he will quickly run after you if you try to run away
Repeat Whirlwind Slash as you dodge his attacks
Phase 2 – Poison and Smoke
Attack him as he’s about to use smoke as he’s vulnerable
When he uses poison
Stay away from the poisoned area
Block attacks until poisoned area vanishes
Same dodge and attack strat applies in the second phase
Take that, Dad!
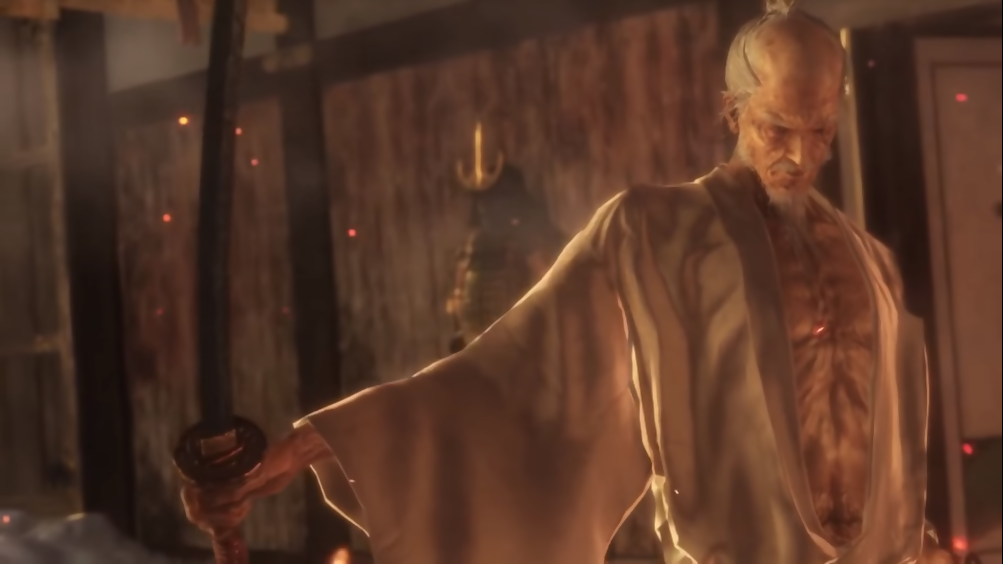
4. ‘True’ Corrupted Monk
Location: Fountainhead Palace
Note: To unlock this fight, you must have chosen to stay loyal to Kuro after defeating the Great Shinobi Owl. Exhaust the dialogue between you and Kuro then head to the Ashina Depths > Wedding Cave Door. Can be transported to Fountainhead Palace from the tent.
Rewards: Memory: True Monk (Attack Upgrade), Dragon’s Tally Board (Unlocks New Items in Merchant Shops), “Corrupted Monk” trophy / achievement.
Strategy:
The True Corrupted Monk has 3 lives
The first two lives can behind taken quickly from stealth kills in the trees.
Once you enter the arena
Grapple onto the tree branch on the right > onto the second > then the third branch behind him.
If you’re fast enough that he doesn’t notice, you can stealth kill him.
Immediately grapple back to the trees as he enters his second phase.
Stealth kill him again from the middle tree branch.
He will be invisible but will be standing in the middle of the bridge.
You will need to be very fast.
One life left
Throw Firecrackers > normal attack from behind > Firecrackers > Repeat
8 Firecrackers should be enough to kill him for good.
Otherwise, you can run away from his spinning attacks > hit him once > repeat.
Useful items
Ako’s Suger
Ungo’s Sugar
Mortal Blade Combat Art is quick useful for this fight as it contains unblockable damage.
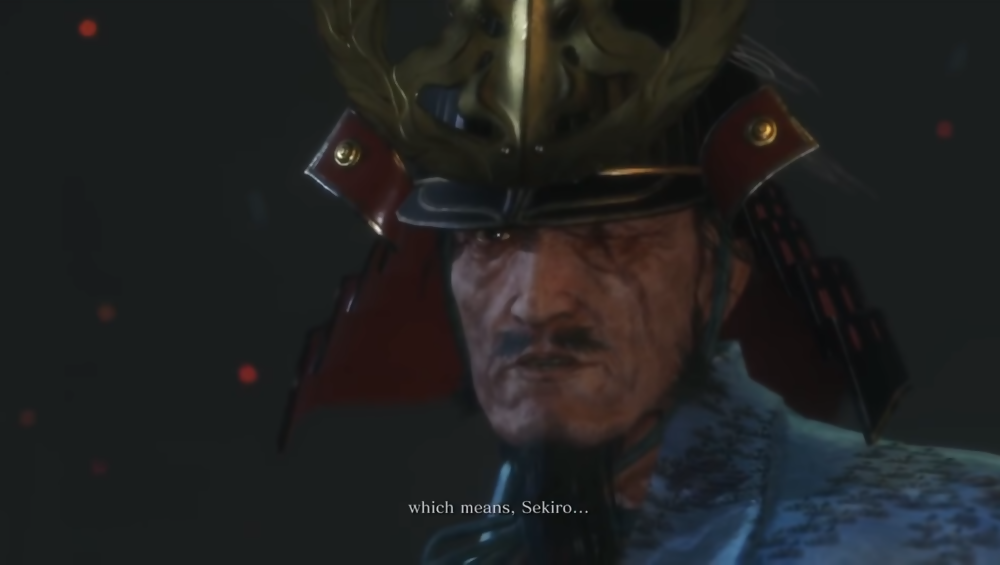
5. Isshin Ashina
Location: Ashina Castle – Upper Tower
Rewards: Memory: Isshin Ashina (Attack Upgrade), One Mind Skill (Combat Art), Shura Ending
Strategy: This fight begins immediately after defeating Emma.
Use the Shadow Rush Combat Art for this fight
Memorize the following:
Stand where he can’t hit you but close enough where your attack can connect
Use Shadow Rush
Jump Back
Run Away
Repeat
Isshin cannot block this
Second Phase:
Isshin starts to use fire moves
Straight fire shot – just run to the side
Wide fire shot – stay behind fire and charge Shadowrush once
Flames Everywhere! – Stand where there are no flames then jump towards Isshin as he will be attacking you immediately. This will dodge the attack.
Use this time to get behind him and attack him a few times.
Useful Items:
Pellets
Ako’s Sugar
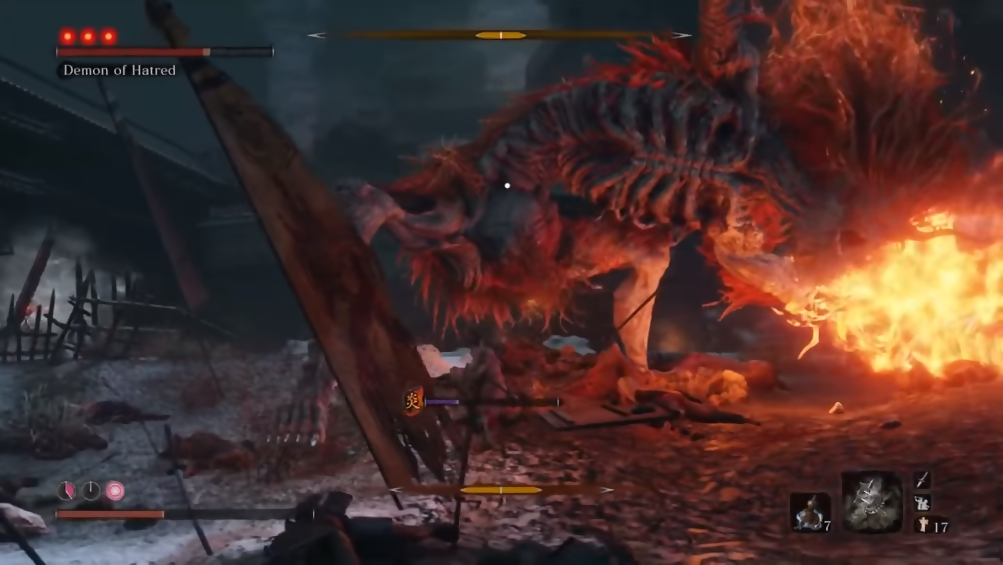
6. Demon of Hatred
Location: Ashina Outskirts
Note: Spawns after you’ve defeated the Divine Dragon.
Another note: This dude totally sucks.
Rewards: Memory: Hatred Demon (Attack Power Up), 2 x Lapis Lazuli (highest-grade upgrade material)
Strategy:
3 Health Bars
Will kill you in two hits
Always stay aggressive and close to the Demon. Never run away.
He does huge AOE fire damage if you aren’t sticking right to him.
Contains 3 phases of melee and ranged fire attacks
If you stay close, these phases won’t be too drastic
RUN
Run towards the enemy until you are in range to strike
Always run to the right.
Keep running until the Demon does his fiery melee attack
If you are close enough, it will always miss.
After he misses, run behind him to the right > hit him twice then let him jump away.
RUN towards him again and to the right.
Let him miss his attack
Run around him to the right > hit him twice
Repeat
Once behind him, 2-3 safe attacks then prepare to evade surprise attacks
Never try to dodge his attacks
Always run
Keep lock onto the Demon at all times
On the third phase
Use Malcontent Whistle
Stuns him up to 3 times in a row taking 60% of his health
The Demon of Hatred has insane AOE attacks that are practically impossible to dodge if you’re too far away from him.
Stick to the aggressive strat.
Check out this SUPER CHEESE Strategy to defeat The Demon of Hatred.
7. Isshin, The Sword Saint
Location: Ashina Castle – Ashina Reservoir
Note: If you don’t pick the Shura Ending, then you’ll get this bad boy in all 3 of the OTHER endings. So…have fun with this one.
He does 3-5 sword strikes always ending with a strike upwards
He sheaths his sword for sweep attack
Run away to the left to get out of reach
Quickly get behind him
He pushes you away to stab
Mikiri counter the stab to break his posture quicker
Breaking his posture is more crucial than health depletion
Alternatively, you can use Shadowrush Combat Art
Third Phase
Always run to the right
Isshin jumps
You run towards him on the right side to get behind him
One stab from behind then run away > repeat
Only attack when he jumps > hit him once > run away > repeat
Refrains from trying to block any of his moves
Just run in wide circles to the right
He will miss if you do this
You will need to be far enough away from him so he uses this jump action
Fourth Phase
Same as Phase 3
Exploit the jump attacks and hit him once > repeat
A Breath of Life
In this article, we explained the nitty-gritty details of how to defeat the top 7 most difficult bosses in Sekiro: Shadows Die Twice.
Along with some cheesy strategies of course.
Sekiro: Shadows Die Twice is an amazing game with an equally impressive storyline and gameplay. We had such a phenomenal time exploring this world and every boss that got in the way of it.
We hope this guide was helpful to you and look forward to hearing what you guys think!

 July 27, 2021